A string that arrives at the correct final length only by last-minute twist adjustment is not built correctly. It ends the right length by coincidence, and the coincidence costs bundle stability. The rule that governs the entire Axial process starts here: the final length should never be adjusted by more than 1/16", or by more than one-half twist, after the final stretch. Every step earlier in the build exists to earn that.
Doing that reliably requires three lengths, worked out on paper, before the layup begins.
Where the specifications come from
Overall main-string and control-cable lengths for most modern bows are easy to find. Manufacturers publish them. A quick search will produce accurate numbers for the vast majority of production bows in the last ten years.
String 62-15/160–19 · 25–27 · 30.25–34.25 · 19–0Cables 34-1/160–9 · 17.5–28 · openYoke 16-3/4
The main-string line runs from one end loop to the other, with each dash-pair marking a serving section along the length. Control cables use the same convention, with “open” indicating an unserved section at the cam end. Yokes list only overall length.
The rest of the string specification — where the center serving sits, how long each serving section is, exactly where the end loops break — is not published. Full serving charts are dealer-only documents. If you have a bow but no chart, there are two workable paths:
- Measure the existing string. Pull it off the bow, set it on the building jig, apply 100 lb of tension, and measure every dimension from that. This is the most reliable approach.
- Measure the string in place. Run a piece of unstretched serving alongside the bowstring, mark it at each transition, then remove it and measure it flat on a table. Less accurate than the first method, but useful when the string cannot be removed.
One detail that catches builders off-guard: the center serving is almost never centered. Do not assume symmetry.
The three key lengths
Every build works from three calculated lengths. All three come from the target final length. Once they are on paper, the build proceeds from one to the next without guessing.
Starting length = final × 1.008
The starting length is the distance between posts at layup — before any twist is added. Because twisting shortens the bundle, the layup has to start longer than the final target. On an adult-length string, the working rule is 0.8% oversize. That is a multiplier of 1.008.
Example. For a main string with a final length of 65 1/4":
65.25 × 1.008 = 65.772" → round to 65 3/4".
The 0.8% rule holds for typical adult string lengths. On strings under about 40" the rule bends slightly — 0.9% is often more workable, because the same fractional stretch is a smaller absolute measurement and the extra margin makes the twist target easier to hit. On very long strings the multiplier stays close to 0.8%. When the build is outside the standard range, the rule of thumb changes; the underlying physics does not.
Post-twist length = final × 0.993
The post-twist length is the target the bundle should measure at 50 lb after twisting is complete, before tensioning. Because the string will grow when it settles under load and again on the final stretch, the twisted bundle has to end up shorter than the final target — by 0.7%, or a multiplier of 0.993.
Example. For the same 65 1/4" main string:
65.25 × 0.993 = 64.793" → target just barely over 64 3/4".
This is the number to hit precisely. Round the starting length to the nearest sixteenth if convenient. Do not round the post-twist target. The difference between 64.79" and 64.81" is the difference between a string that finishes on-target and a string that needs a twist correction after the final stretch — which then destabilizes the bundle it was supposed to preserve.
This is the most important measurement in the build. If the post-twist length is off, the final length will be off. Correcting the final length by adding or removing twists after the string has been stretched to 300 lb undoes the stabilization the previous stages worked to create. This one measurement, taken correctly at 50 lb, is what decides whether the string stays where it lands.
Pre-serve length = final − 1/16" (or − 1/32" under 40")
After the tensioning stage completes, the bundle returns to the building jig for one more measurement before serving. The target here is very close to final, minus a small amount to leave room for the final 300 lb stretch to make up the difference.
For a full-size adult main string, deduct 1/16". That gives the final stretch approximately 1/16" of growth to arrive at final length. For strings under 40", deduct 1/32" instead. For yokes under 20", pull to the final target directly. A 1% stretch on a 20" cable is under a quarter inch of movement across the whole process; the final-stretch growth is not measurable, and trying to plan for it introduces more error than it removes.
| String type | Pre-serve deduction |
|---|---|
| Adult main string (≥ 40") | final − 1/16" |
| Control cables (≥ 40") | final − 1/16" |
| Strings under 40" | final − 1/32" |
| Yokes (under 20") | pull to final |
Setting up the jig

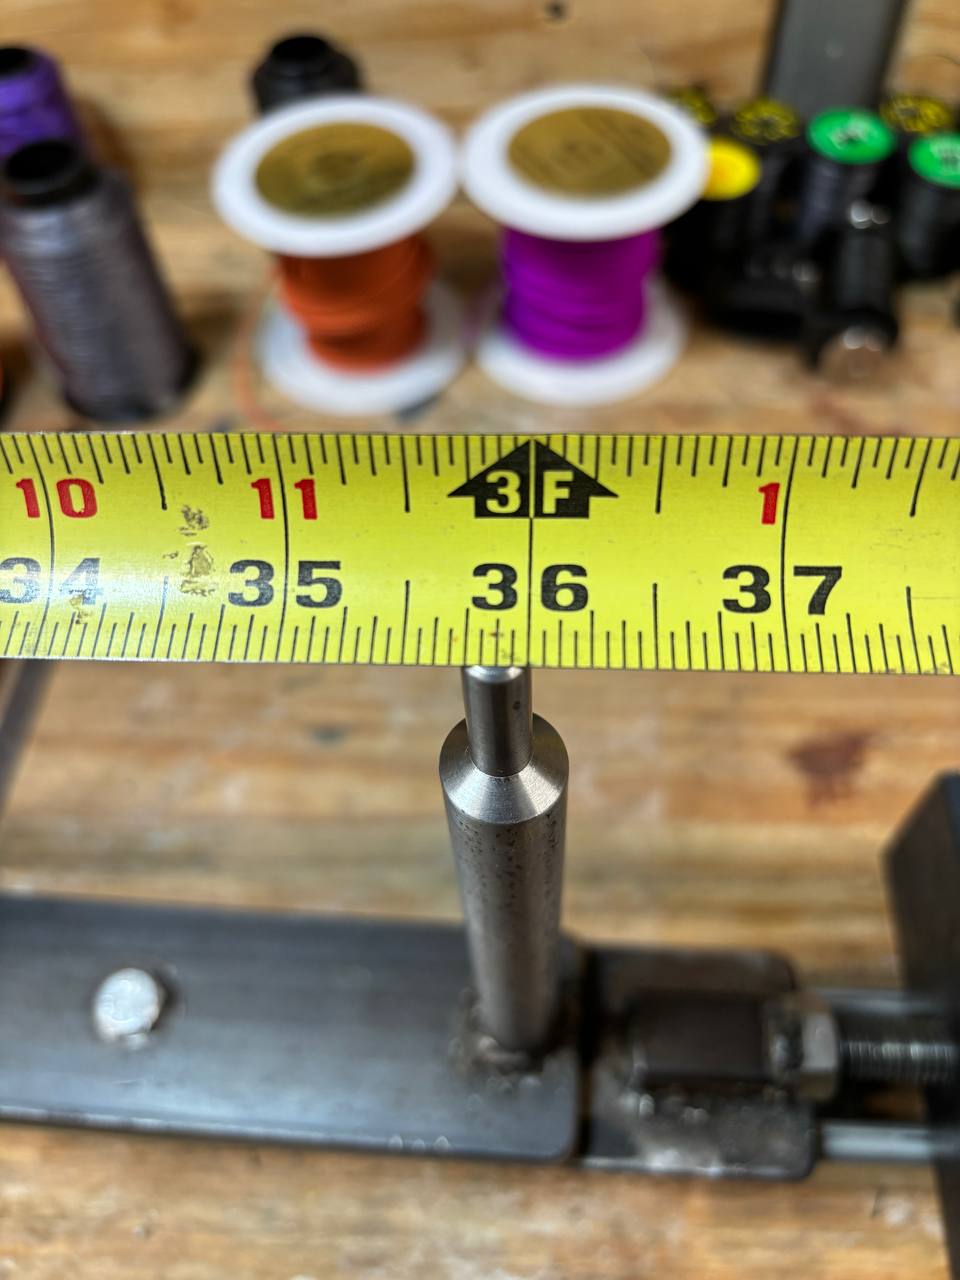
With the three lengths on paper, the jig gets set to the starting length — the 1.008 number — measured outside-to-outside of the posts. Not center-to-center. Every dimension in the entire build is taken outside-to-outside from the same posts, which means the post diameter cancels out of the math as long as the setup is consistent.
Tag-end placement, before the first strand

The layup direction and the tag-end position have to be planned before a single strand goes around a post. For a standard end-loop-supported string, the tag end starts on the inboard auxiliary post — the one offset by 7–8" inside the primary end post, the one that is not carrying load during layup. Wrap the tag end around that post twice so the material cannot slip, then clamp or screw it down. That is where the string begins and ends.
For a Mathews-style open-loop layout, the tag end starts at the far end post, because a portion of the tag will be cut off and the remainder held only by the end-loop serving. That method is covered as a callout at the end of this article. For most builds on most bows, use the standard method.
Laying up the strands
The layup itself is where a lot of builders quietly lose the string.

Once the tag end is anchored, run the material from the auxiliary post across to the end and begin looping around the two load-bearing posts. Each pass through the center of the jig counts as one strand. Each full circuit — down one side and back — counts as two. The math is always even.
Layup tension is the number most often quoted wrong. The correct number is 2 to 3 lb per strand by hand. Not 5. Not 10. The reason is quiet but important: every strand that goes around the posts pulls those posts slightly toward each other. If each strand pulls with 15–20 lb of tension, by the time the last strand is added the posts have deflected inward significantly, and the earliest strands are now looser than the ones laid later. The bundle starts life un-equalized before a single twist goes in. Two to three pounds per strand is enough to lay the material cleanly against the posts without progressively collapsing the geometry.
After the final strand comes across, the material passes the auxiliary post it started at and terminates on the far end post. Bring it diagonally across the top of the bundle, loop it twice around the bottom of that far post, and secure the second tag end. Cut from the spool.
Bench details from the real layup


Rotating the jig for serving access

With both tag ends anchored, the pivoting ends of the jig get rotated 90°. This is the moment the pivoting design earns its complexity — it opens the geometry to give access to the tag ends for end-loop serving without dropping tension.
The rotation must not lose or add slack. A jig that loses tension during the pivot has a mechanism problem. The rotation should feel smooth and the tension should hold through it. Once the ends are at 90°, the string is ready for the strand-equalization pull.
End-loop serving
The Axial default is 2 1/4" of end-loop serving, done with the same material used for the rest of the end serving — 3D or Halo, matched across all serving sections.
Both ends typically get the same treatment, even on strings where only one end has tag ends to secure. On multi-color builds, keep all tag ends on the same side of the jig. There is no build advantage to staggering them, and it adds unnecessary complexity to the layup direction.
Callout — the Mathews open-loop system
Mathews builds strings without traditional served end loops. Their end loops are unserved — the tag strand is laid on top of the bundle after twisting and held in place only by the end serving itself. The posts on Mathews bows are machined to accommodate this system.
On a Mathews bow, it works. The post geometry supports it, the manufacturing consistency is high, and the assembly line moves faster without the end-loop serving step. That is the honest reason it exists — it simplifies production, not because it produces a demonstrably better string.
On other bows, the open-loop method carries risks that Axial is not willing to accept:
- Abrasion failure. End posts on bows not machined for open loops can create just enough friction against the unsupported strands to produce a failure point over time.
- Lost strands. One or two strands can fall to the wrong side of the loop. Those strands are then not held onto anything — they carry no load, and the surrounding strands take up their share. That is one or two strands' worth of destabilization at the highest-load point on the string.
- Tag length dependency. The open loop requires a tag of roughly 8" laid into the bundle at end serving. This makes the pre-serving pull extremely difficult, and end serving can be challenging.
Mathews also runs their control cables with dual-twisted saddle ends — looping each end, then twisting the two halves together — for the same reason: a lost strand at that location on a control cable, which can see over 200 lb of tension, will destabilize the entire bundle. For control cables that don't have end-loop serving, Axial prefers to leave the helical in the string and simply avoid the strand mistakes — we believe that produces a stronger string.
Published 2026-07-04 · Axial Bowstrings