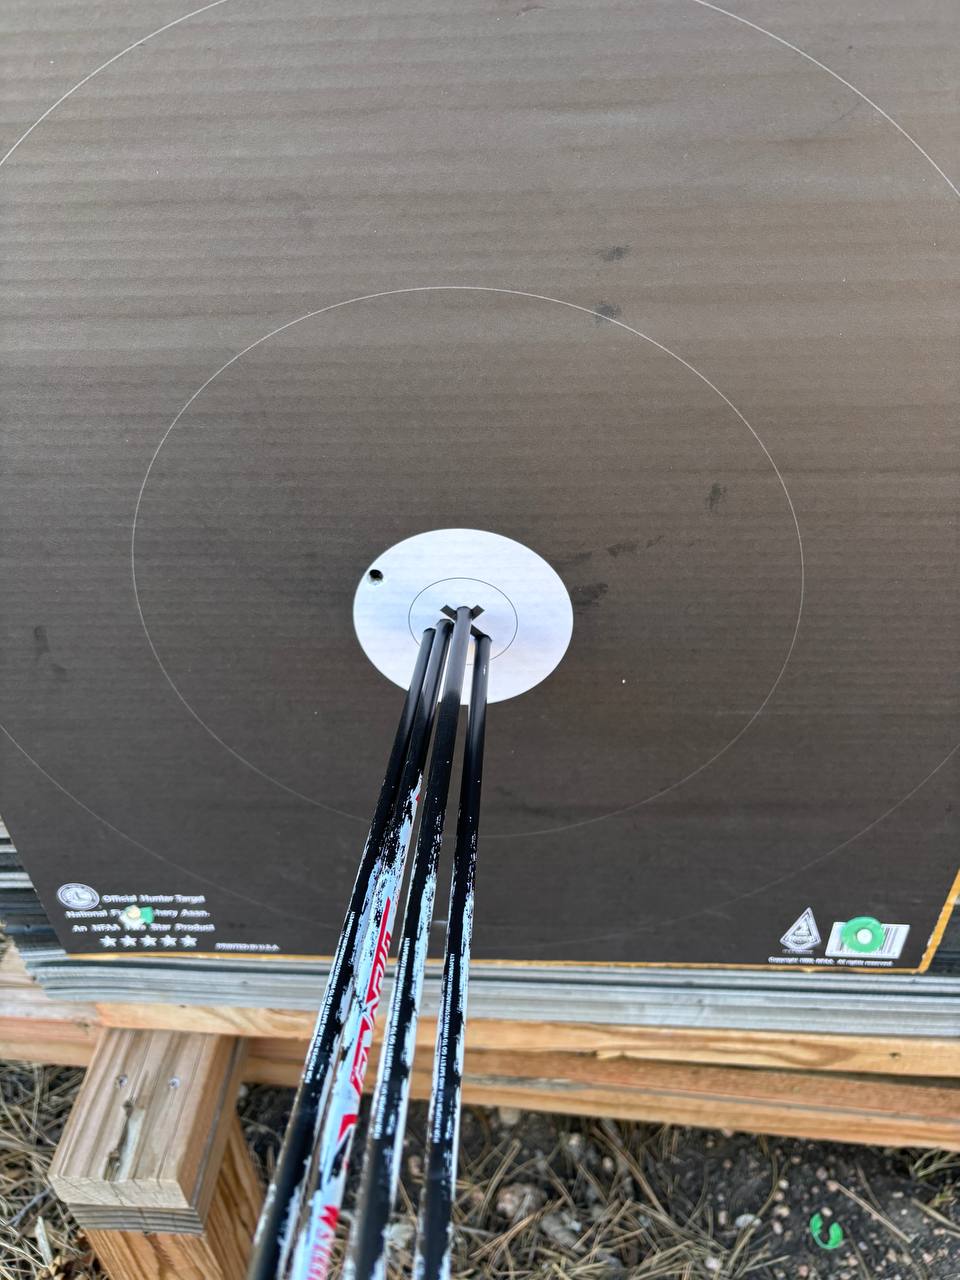
A paper test works like this: you stretch paper across a frame, stand at a set distance, shoot through it, and read the shape of the hole. The arrow punches through with its tip first, then the shaft follows. If the shaft is not traveling in exact alignment with the tip, the hole is not round — it is elongated in the direction the nock end was offset. That elongation is the tear.
The test is fast, cheap, and gives you a direct visual record. It is also only a snapshot of a single moment. Understanding which moment it captures is the whole game.
Where to put the paper, and why it matters
For a fletched arrow, the optimal paper distance is 9 to 12 feet from the bow. This is not an arbitrary range. It is where the arrow's deflection apex occurs.
When a compound bow fires, the string accelerates the nock end of the arrow forward while the rest is still supporting the shaft. The release of the string — whether from a mechanical release aid or fingers — introduces a small perturbation at the nock point. The arrow is not perfectly rigid, so it flexes along its length during this acceleration phase and launches with a small oscillation. For a correctly spined arrow on a correctly tuned bow, this oscillation is controlled and self-correcting. The arrow flexes, straightens, and by the time the fletching takes authority over its flight, it is traveling cleanly toward the target.
The deflection apex is the point of maximum departure from the arrow's intended line of travel. For a fletched compound arrow at typical hunting or 3D weights, this occurs at roughly 9 to 12 feet from the bow. At this distance, any misalignment in the launch is expressed at its clearest. The fletching has not yet fully corrected the flight, but the initial launch chaos has settled enough that the tear reflects a meaningful signal rather than noise.
At 4 to 6 feet — where many people set up their paper frames — you are catching the arrow mid-oscillation, during a phase dominated by the initial launch event rather than the steady-state relationship between nocking point, rest, and spine. Tears at this distance can be erratic and misleading. At 15 to 20 feet, the fletching has been working long enough that a mildly mistuned bow may produce a clean tear despite real problems that will show up at 40 yards.
Reading the tear
A bullet hole is the ideal result. It does not mean the bow is perfectly tuned — it means the arrow was traveling in alignment with the tip at that specific distance. That is a necessary but not sufficient condition for a well-tuned bow.
The four basic tears and their primary causes:
High tear (nock end hit high)
The nock end was above the tip when the arrow passed through paper. Primary suspect: nocking point or arrow rest set too high. Adjust nocking point height first, then rest elevation if needed.
Some published guides recommend adjusting cam timing to correct a vertical tear. Do not do this. Timing governs cam synchronization on a two-cam bow — it is not a nocking point adjustment tool. Correcting a vertical tear with timing will throw off cam sync and introduce new problems while appearing to fix the tear. Vertical tears are corrected with nocking point and rest height, not timing.
Low tear (nock end hit low)
The nock end was below the tip. Nocking point or rest too low. Same rule: nocking point first. And the same caution applies — do not reach for timing as a fix for a vertical tear.
Left tear or right tear
On a compound bow with a clean release aid, the string departs straight. Horizontal tears are not a spine-kick problem. The primary tool for correcting a horizontal tear is cam lean — not rest position. Leave the bow at center shot and adjust cam lean first. Cam lean creates a lateral string offset at the nock that expresses directly as a horizontal tear. Correcting it at the cam is cleaner and more precise than compensating with rest position.
If cam lean cannot fully resolve the tear, rest position is the secondary tool. The correction direction depends on how far off you are, and it switches at roughly 1/4 inch of rest travel from correct:
Minor tear (close to a bullet hole): move the rest in the opposite direction of the nock tear. If the nock went left, move the rest right. This is counterintuitive — the instinct is to chase where the nock went — but it is the correct adjustment when you are already near center shot. The likely reason involves arrow flex behavior in the near-center region, where small geometry changes affect how the arrow oscillates off the rest differently than they do when the bow is grossly misaligned.
Large tear (well off center): chase the nock — move the rest in the same direction the nock went. Left tear, move rest left. This is the intuitive fix and it works when the bow is far enough from correct that the gross geometry needs to be moved toward alignment before the finer behavior takes over.
The inflection point between these two behaviors sits at approximately 1/4 inch of rest travel from correct. Work toward a bullet hole, not past it.
Combination tears
A high-left or high-right tear is not simply two problems added together — it may be one root cause expressing itself in both planes. Correct vertical first. Nocking point height is the primary vertical control. Then address horizontal. Chasing combination tears by adjusting both planes simultaneously is a reliable way to lose your starting point.
What paper tuning cannot tell you
This is the part that gets omitted from most paper tuning guides.
Paper tuning does not tell you whether the bow groups well at distance. A bullet hole at 10 feet and a 6-inch group at 60 yards are not contradictory. Paper tuning captures one moment. Grouping at distance integrates everything: spine consistency, fletching geometry, rest timing, arrow-to-arrow variation, and the archer's contribution. A bullet hole through paper means the arrow was well-aligned at the apex. It does not mean every arrow in the quiver will behave the same way, or that the bow is tuned for distance.
Paper tuning does not diagnose nock fit, rest timing, or fletching contact. If your fletching is grazing the rest on exit, you will not see it in the tear reliably — you will see it in erratic groups at distance, or in damaged fletching. If your D-loop has inconsistent stretch, paper will not catch it either.
A clean tear does not mean the spine is correct. A slightly weak and a slightly stiff arrow can both produce clean tears at 10 feet if the rest and nocking point compensate for the spine error. The bow is tuned to the arrow rather than the arrow being correctly matched to the bow. At short distances this does not matter much. At 60 yards it shows up as sensitivity to form variation.
Bare shaft vs. fletched
Bare shaft testing is still paper tuning — you are shooting through the same frame at the same distance — but without fletching the arrow has no self-correcting mechanism. The hole tends to be cleaner and easier to read, which makes it a little easier to analyze for perfection. A bare shaft tear at 10 feet shows the raw launch conditions with no masking. A bow that produces a bullet hole with a fletched arrow but a significant tear with a bare shaft is being corrected by its fletching rather than launching cleanly. That is acceptable for hunting. It is worth fixing for consistent long-range shooting.
The comparison between bare shaft and fletched tears at the same distance is a more complete diagnostic than either test alone. Both point at the same problem from different angles: the fletched tear shows what the fletching is masking; the bare shaft tear shows the underlying cause.
When to paper tune
Paper tuning is a starting-point diagnostic, not a finishing-point one. Use it to establish a baseline after a new string install, a rest change, or a draw length adjustment. Do not use it as the final word on tune. Field point / broadhead comparison at distance will surface problems that paper misses.